Infrared Bathroom Heater: Best Options & Complete Buying Guide (2025 Edition)

Infrared heaters are a popular choice for modern bathrooms because they warm people and surfaces directly, like the sun, rather than just heating the air. This guide explains why UK homeowners are choosing them, how they work, what types are available, key features to look for, installation advice, and common FAQs.

Why Choose an Infrared Bathroom Heater?

Efficient Heating

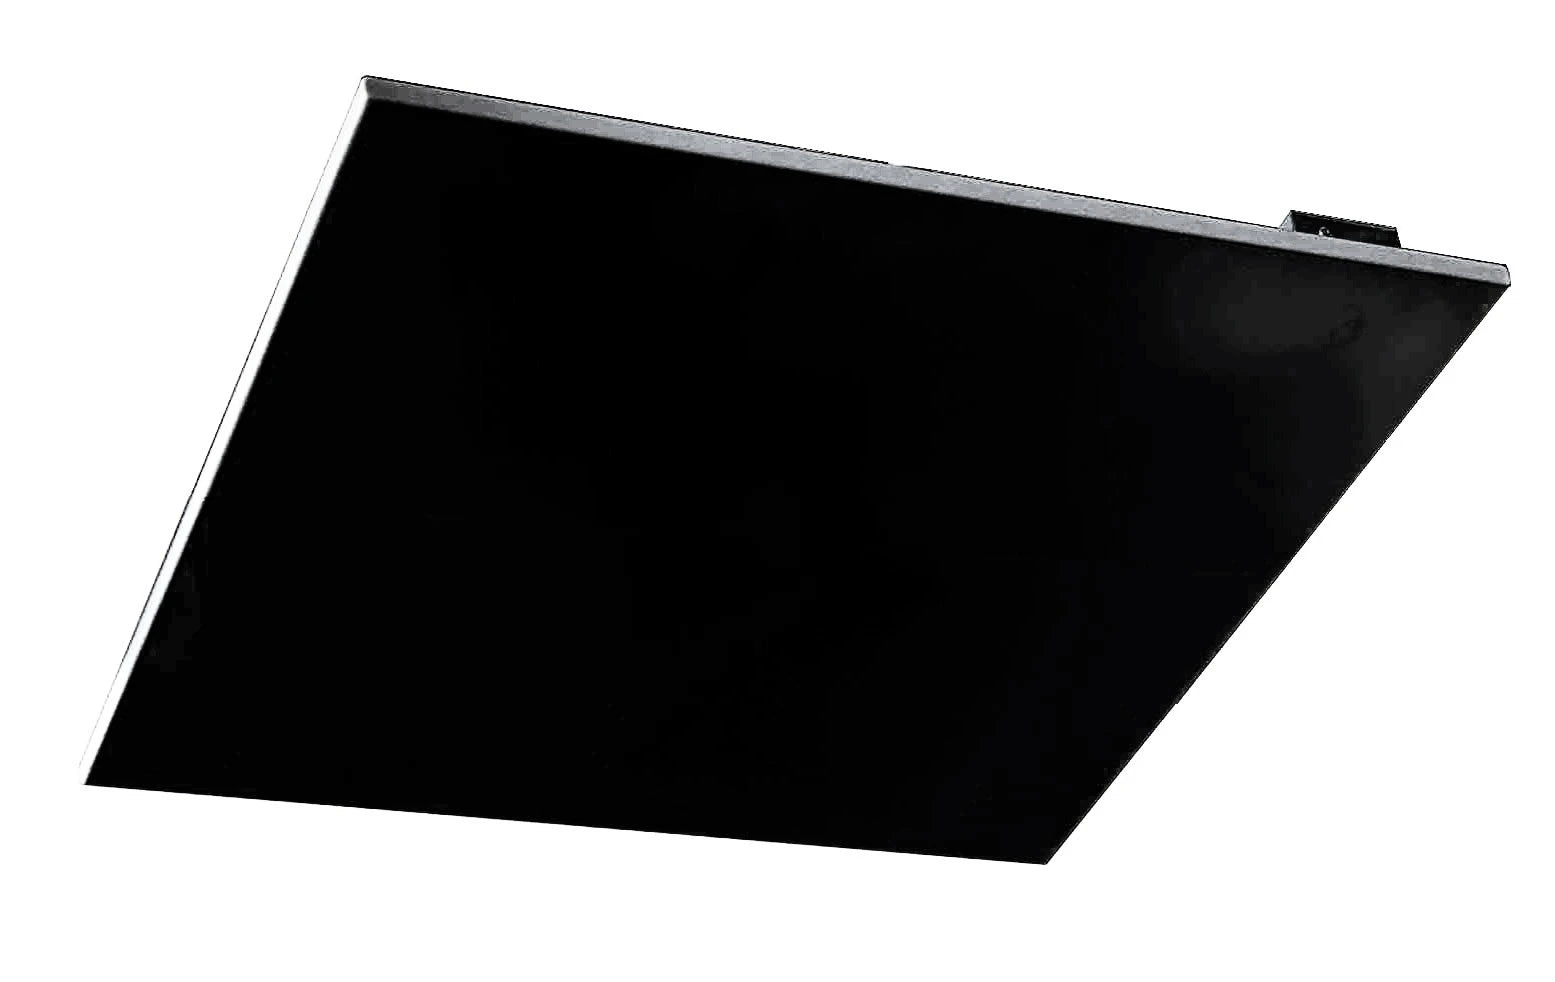
Our infrared panels are highly efficient at converting electricity into radiant heat, warming objects and surfaces, such as walls, towels, and people, directly. Unlike traditional systems that waste energy heating the air, infrared heating delivers targeted warmth, often requiring less energy to achieve a comfortable temperature.

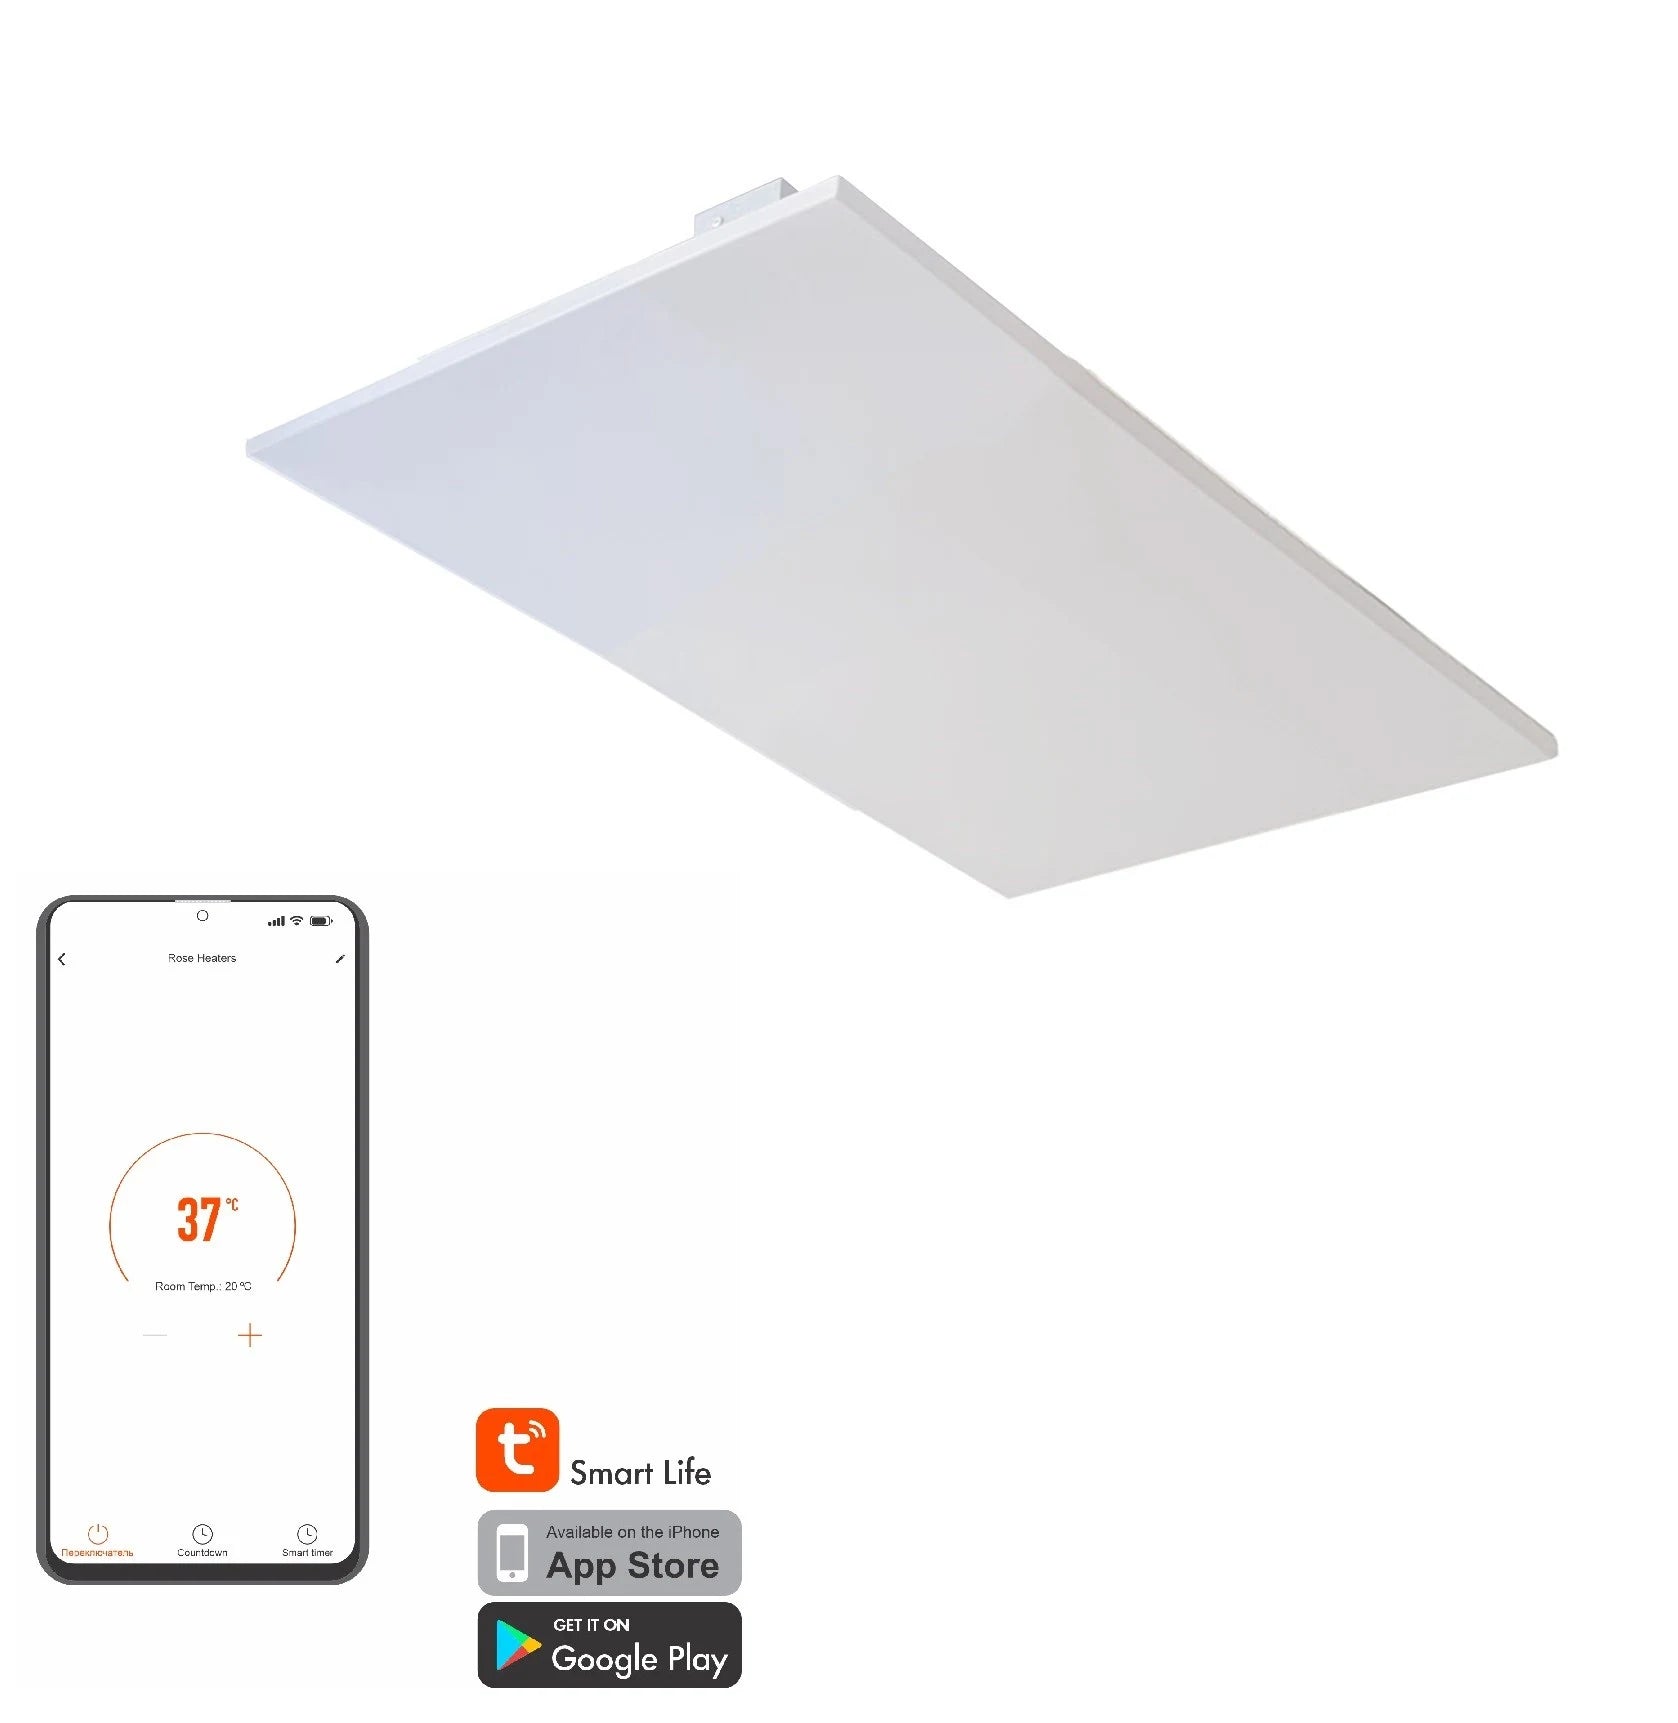
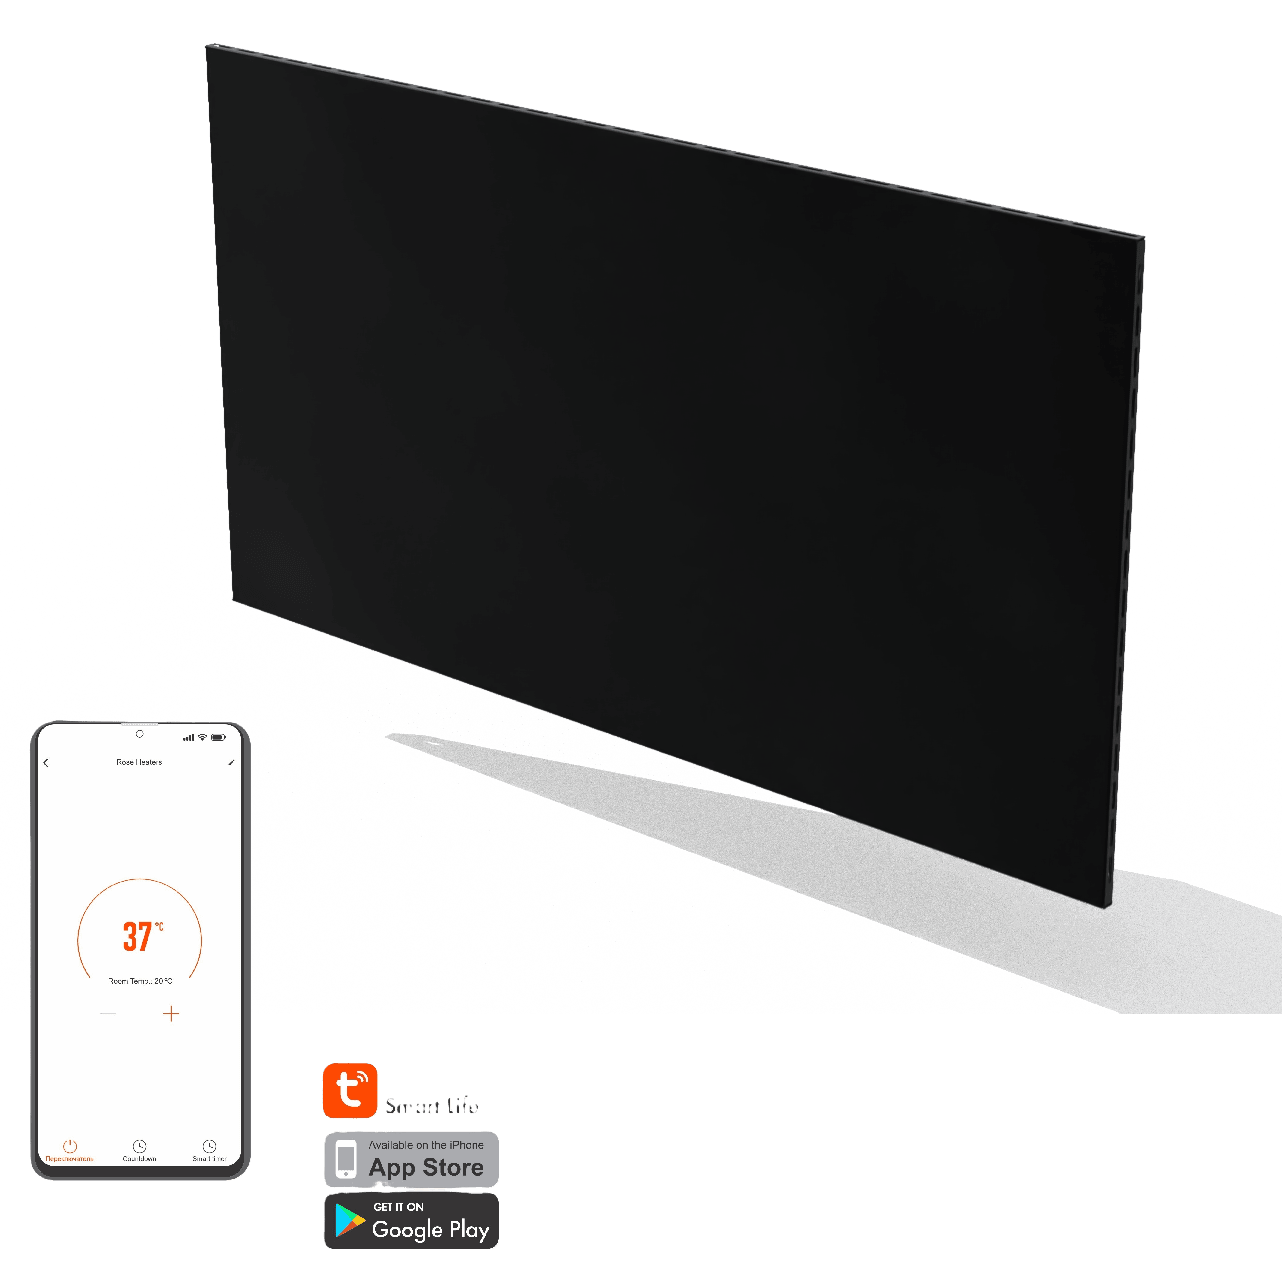
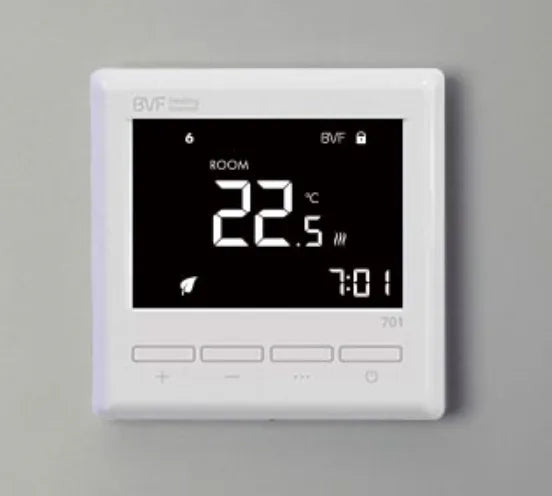
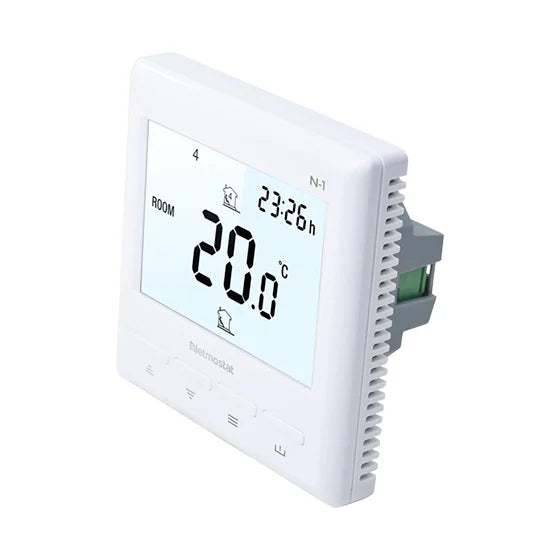
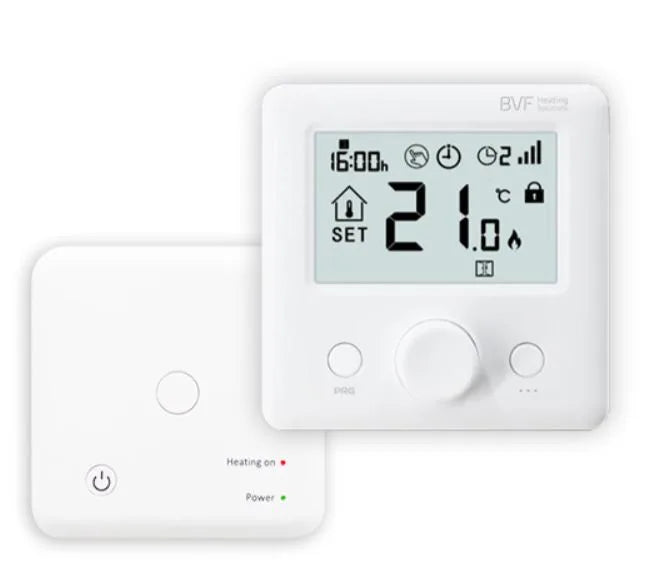
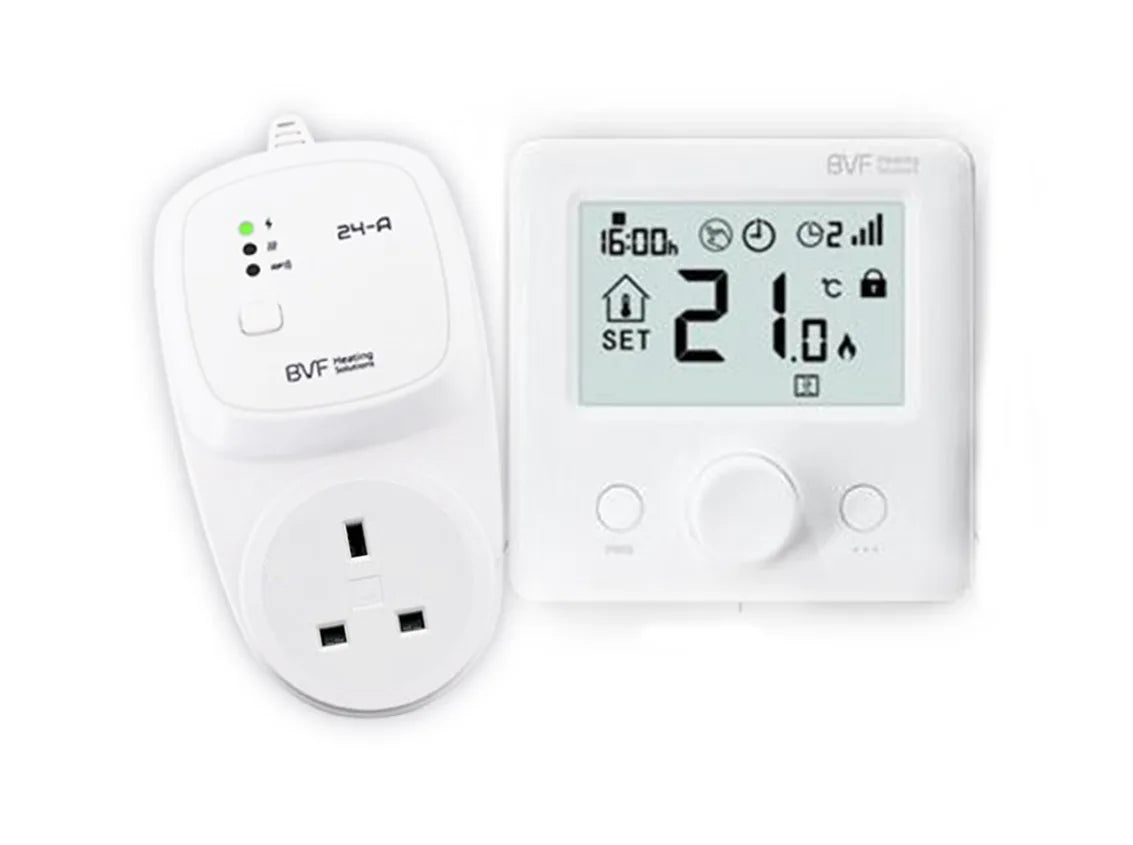
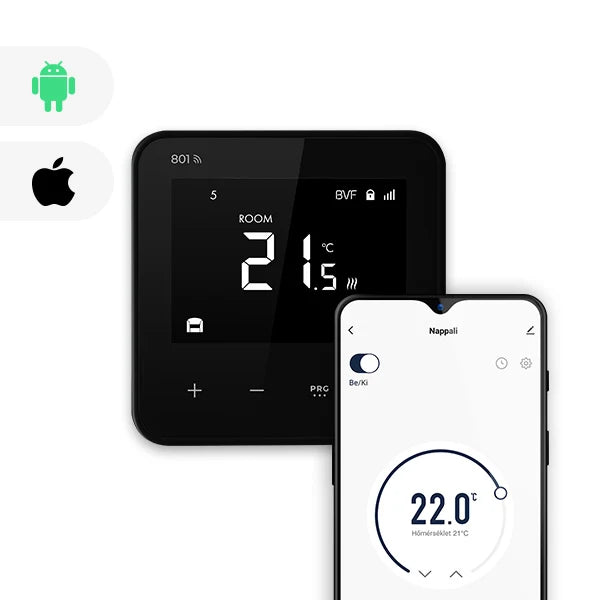
When paired with a thermostat, infrared panels can deliver up to 40% savings on running costs, thanks to the efficiency of direct heating. As a result, they can be more cost-effective and energy-efficient than conventional heating systems like gas boilers or convection heaters.

Rapid Warm-Up

Our infrared heaters reach their operating temperature within just a few minutes, providing quick and comfortable warmth within their heating range. This is significantly faster than oil-filled radiators or other convection heaters, which require time to heat the surrounding air and the entire room.

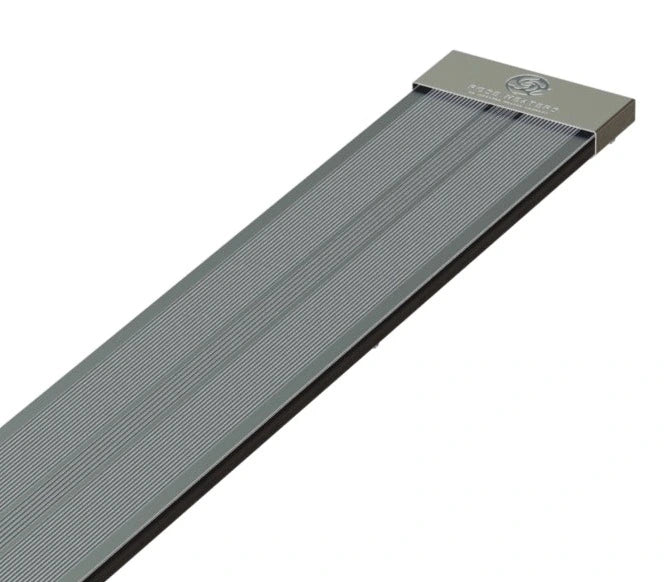
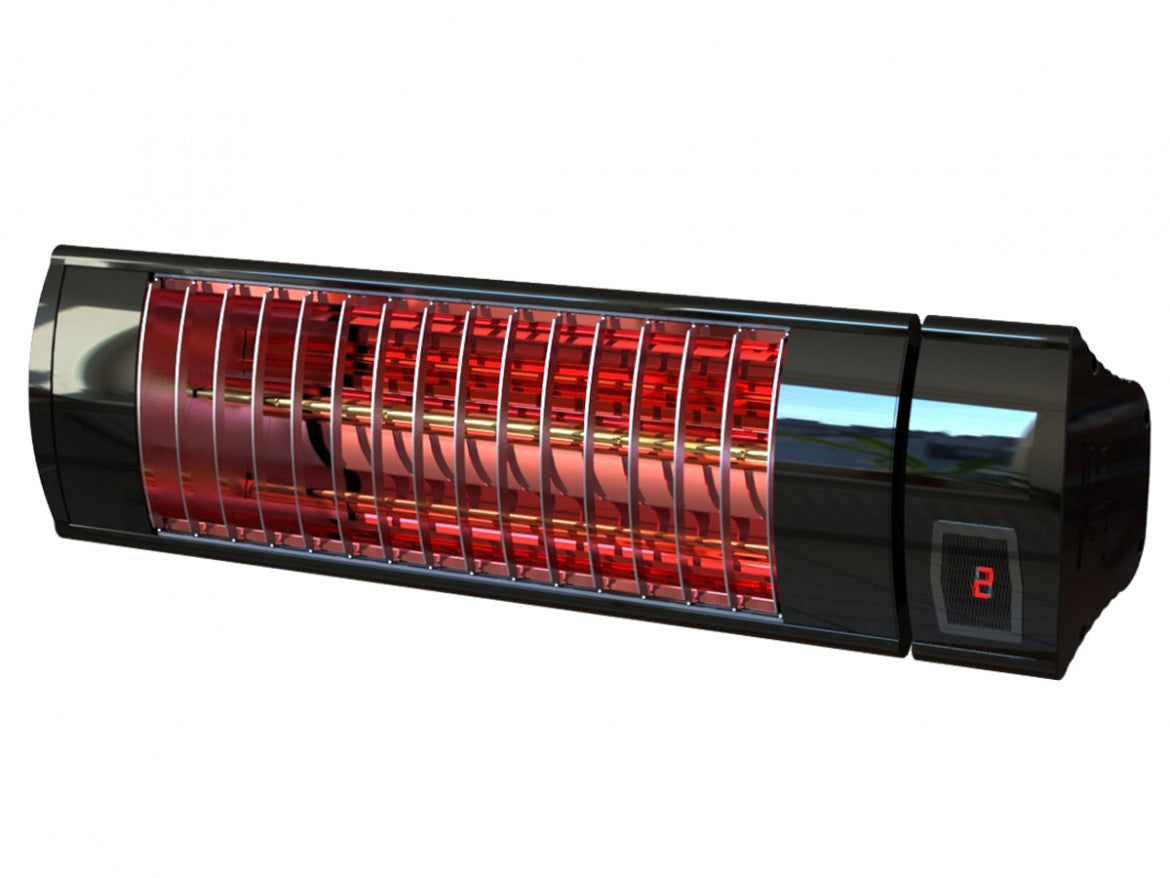
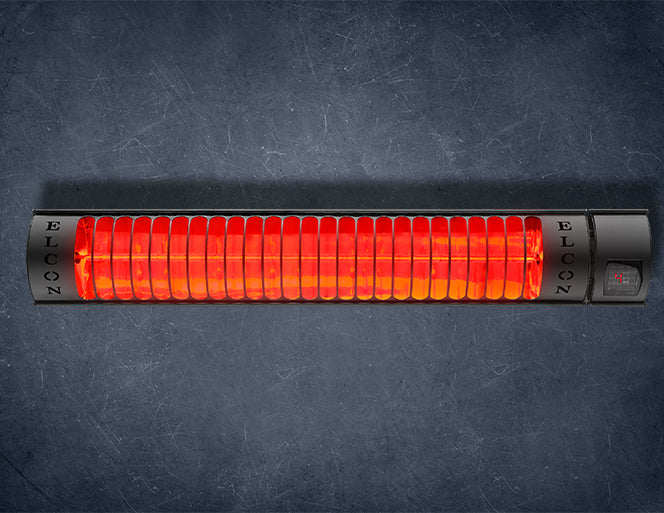
For instant heat in bathrooms or other spaces where warmth is needed only briefly, we offer near infrared (glow) heaters. These deliver immediate, focused heat, making them ideal for short-term use while helping to reduce energy waste.

Difference of Infrared and Convection heater

Improved Comfort and Health

Since infrared heaters have no fans or filters, they operate silently and don’t circulate dust or allergens, making them an excellent choice for those with asthma or allergies.

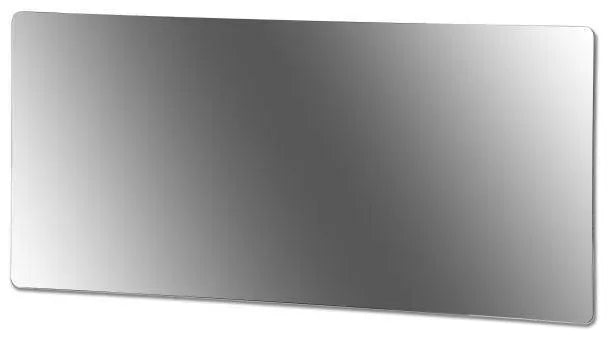
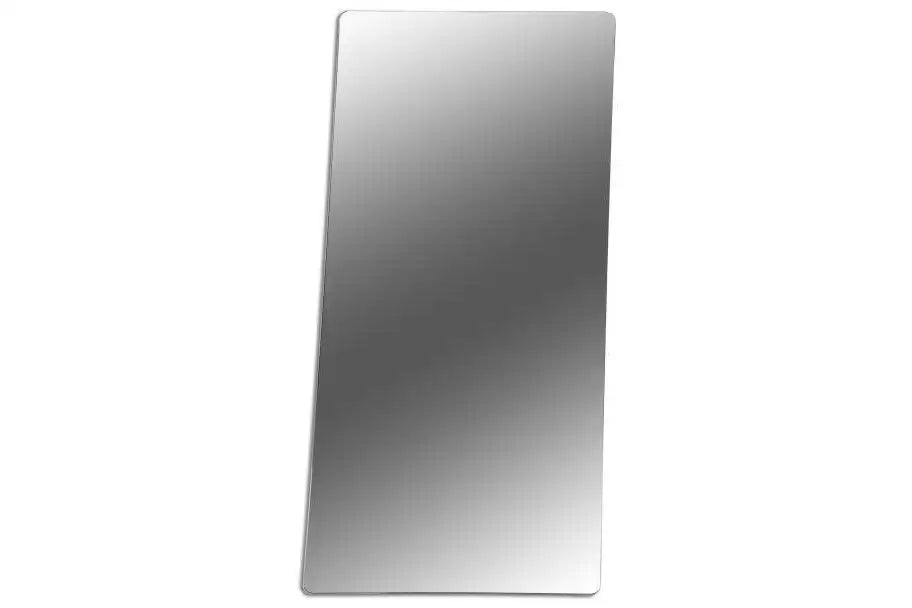
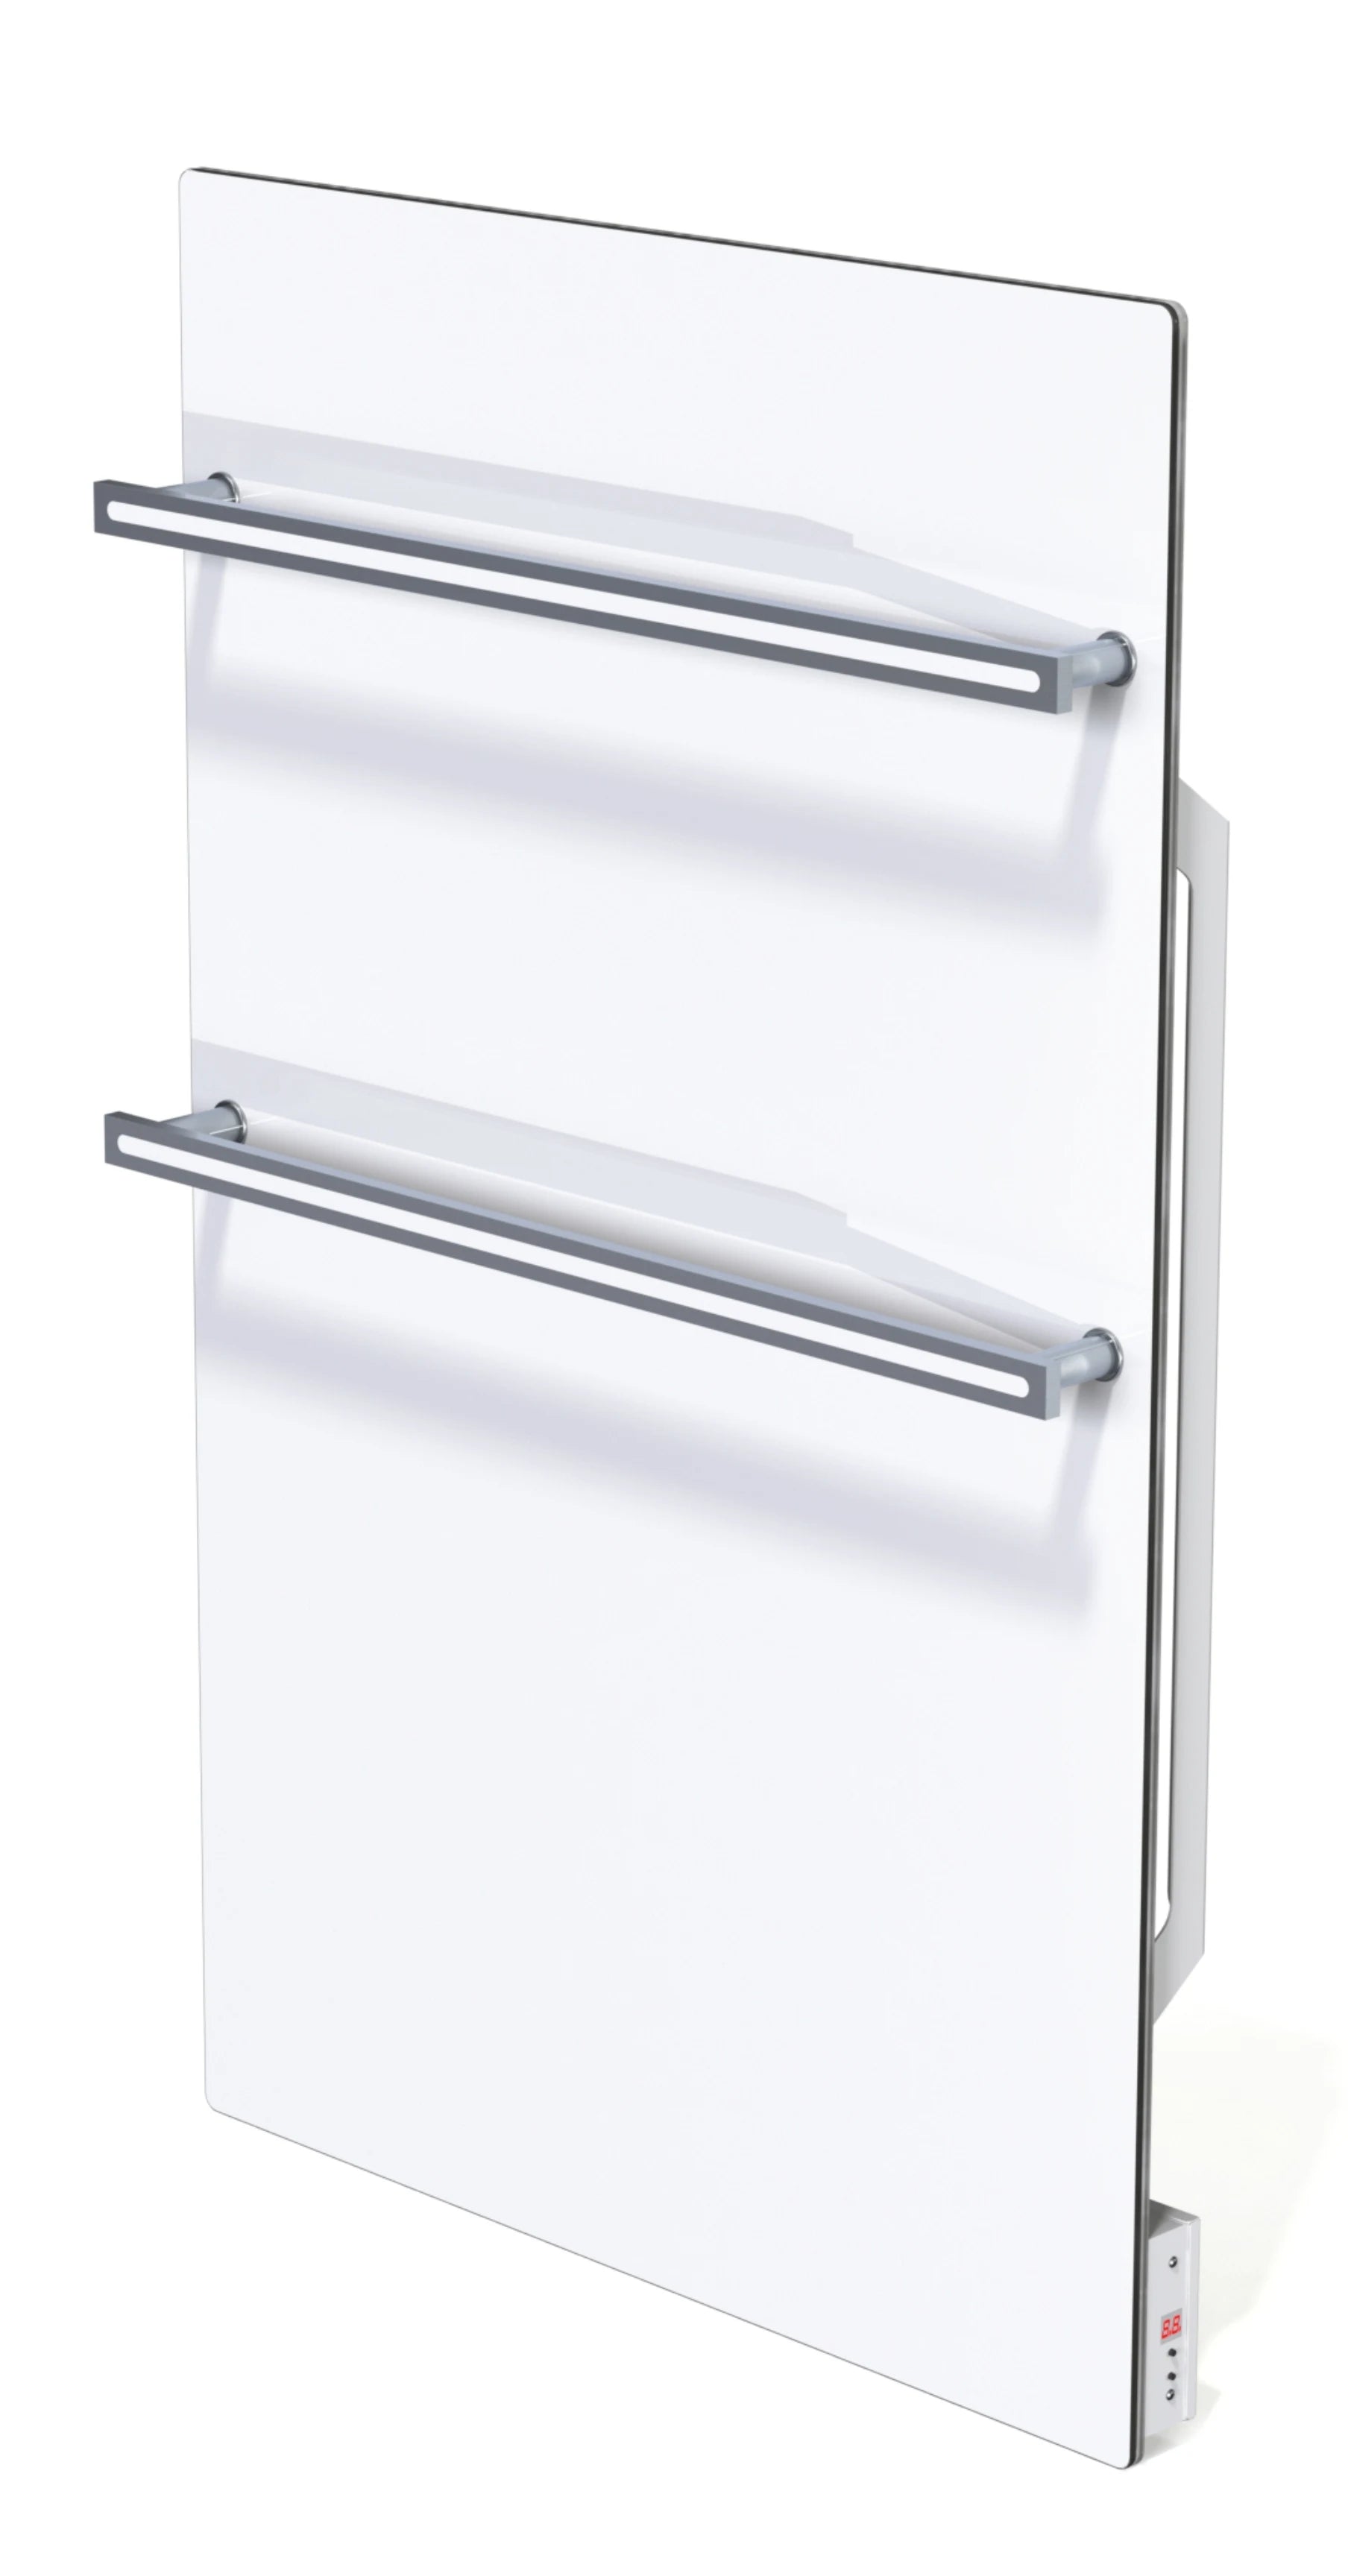
Infrared heating also helps to warm surfaces like walls, tiles, and mirrors, which can significantly reduce condensation and dampness, promoting a healthier indoor environment.

Safe for Bathrooms

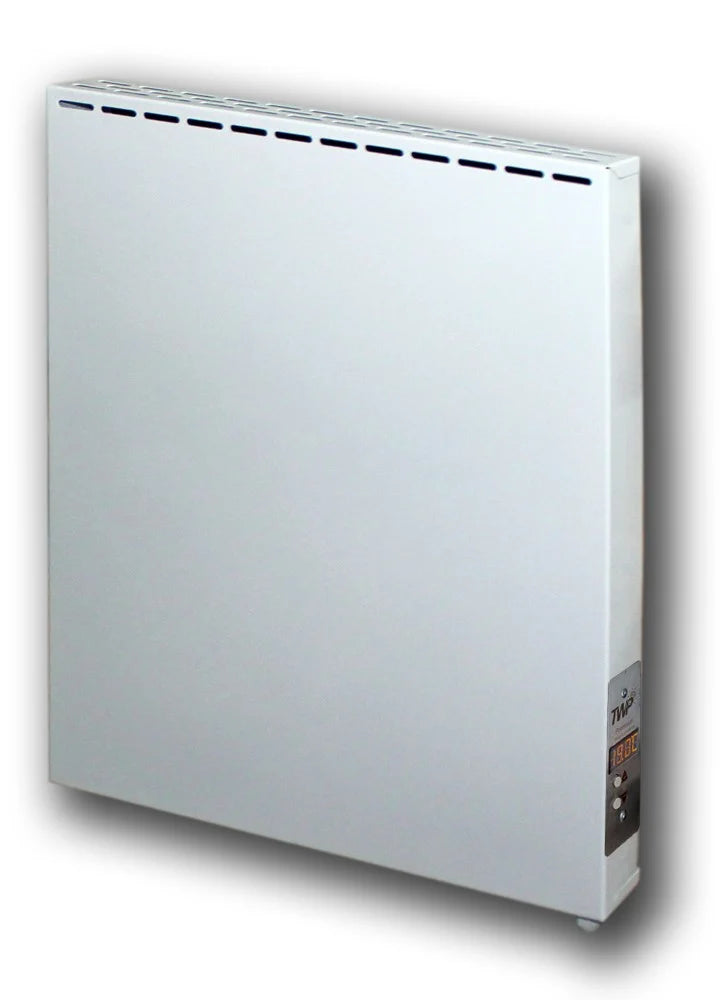
For added safety, our infrared heaters feature fully enclosed heating elements behind glass or metal panels, and are rated with IP (Ingress Protection) levels, such as IP44, meeting UK bathroom regulations for Zones 1 and 2 (see below).

This splash-proof construction, combined with the absence of open flames or exposed coils, makes them safe for bathroom use when properly installed outside direct splash zones and by a qualified electrician.

bathroom splash zones with IP ratings

Types of Infrared Bathroom Heaters

1. Infrared Panel Heaters:

Our wall-mounted panels are available in flat metal, glass, or mirror finishes. For optimal performance, they should be installed at mid-height or higher, following all applicable bathroom zoning regulations. Position the panel so it faces the main area directly for maximum heating efficiency. Ensure the panel is kept out of direct splash zones. When mounted on a wall, this is at least 60 cm away from the edge of any bath or shower.

[Click here] to read a detailed guide comparing our different wall-mounted models.

Our ceiling panels are sleek, flat metal units mounted close to the ceiling with minimal clearance. This placement ensures even heat distribution, as no furniture or fixtures obstruct the infrared rays. It also frees up wall space and keeps the heater safely out of reach, reducing the risk of accidental contact. Each ceiling panel comes with a mounting kit, and select models can even be recessed for a flush installation.

[Click here] to read a detailed guide comparing our different ceiling-mounted models.

infrared ceiling heater infrared wall heater


2. Infrared Bulb Heaters:

These heaters use one or more high-intensity infrared bulbs housed within a reflective unit. In bathrooms, they are typically installed high on a wall and angled downward to direct heat where it’s needed. They provide rapid warmth, but the effect is focused and directional. This makes them ideal for short, targeted use, such as when entering or exiting the shower.

Step By Step Guide: Choosing the Right Heater for You

Step 1: Choose Infrared Panel or Bulb Heating:

1. Room Heating

If you prefer to evenly heat the space with comfortable radiant heat, our infrared panels would be the right choice for you. These have have a few minutes of warm-up time and are recommended to be thermostatically controlled.

2. Spot Heating

If you only require local and short term heating, for example getting in and out of a shower, then our infrared bulb heaters are the right choice for you. In that case, you can select your choice of bulb heater and go to step 5.


Step 2: Assess Your Room’s Size & Insulation:

1. Measure the area (length × width × height) in meters.


2. Determine the insulation level:

♦ Good insulation: new buildings with double-glazing and insulated walls and ceiling.
♦ Moderate insulation: modern buildings with average insulation.
♦ Poor insulation: older buildings with drafts or single glazing.

3. Choose Mounting Position:

♦ Wall Mount:
Assess the available wall space in your Room. The heater would ideally be placed around 1.5m from the floor and across from the space that is occupied the most.

♦ Ceiling Mount:
This provides a better heating coverage and saves wall spaces. These are required to be wired to an external thermostat .

4. Calculate heating requirement (in watts) using our online room calculator.

If you are still unsure, please contact our customer service via phone or email.

Step 3: Select the Right Panel Model and Wattage

Model Mount Description
Bluebell Wall Glass IR Towel Rail Heater, IP54, Built-in Thermostat
Carnation Wall Mirror IR heater, IP44 (On/Off), Requires External Thermostat
Lavender Wall Glass IR Heater, IP54, Built-in Wifi Thermostat
Orchid Wall Metal IR Heater, IP54 (On/Off), Requires External Thermostat
Lotus Ceiling Metal IR Panel, IP44, Requires External Thermostat
Rose-Pro Ceiling or Wall Metal IR Bar, IP44, Requires External Thermostat

[Click here] to read a detailed guide comparing our different ceiling-mounted models and [Click here] for our wall-mounted models.


Step 4: Decide on Control System (Thermostat):

Our wall infrared panels come with the option to include a built-in thermostat and our ceiling infrared panels need to be wired to an external thermostat for control.


Why choose a Thermostat?

♦ Prevents overheating and regulates the heater to maintain your set temperature, saving energy and running costs.
♦ Some models have smart units that can be controlled by an app via Wi-Fi.
♦ With our programmable thermostats you can pre-heat any room only when needed.
♦ Our programmable thermostats have extra features like open-window detection (shuts off if a drop in temperature is sensed), energy usage monitoring, child locks, or safety cut-outs (overheat protection). These features can significantly cut running costs by avoiding unnecessary heating.

Model Type Description
701 Programmable Wall Thermostat, Requires hard-wiring to Heater
N-1 Netmostat Smart Thermostat Wall Thermostat, Requires hard-wiring to Heater
801 Smart Thermostat Premium Wall Thermostat, Requires hard-wiring to heater
24-FX Wireless Programmable Wireless Thermostat with receiver wired to Heater
24-FA Wireless Programmable Wireless Thermostat with heater plugged into receiver

Step 5: Check Compliance & Installation:

Hire a qualified electrician to ensure that the installation of the heaters and thermostats meet the UK electrical standards for bathrooms. Make sure that the IP rating is appropriate for the bathroom zone.


built-in thermostat external wall thermostat

Built-in Thermostat

External Thermostat